Pages

Showing posts with label 1950's. Show all posts

Saturday, June 21, 2014

Summertime 1950's Style

I was beyond excited when I found out this month's theme day at school was 1950's. Totally up my alley and I'd just been waiting for my day to shine. :p I mentally examined my 'vintage' wardrobe. Nothing popped out as something I would be interested wearing. lol Yeah that's me....
I recalled this adorable dress I'd found on pinterest some months ago. After some voting and digging I decided to go ahead and try my hand at it and found the perfect springy/summerish material.
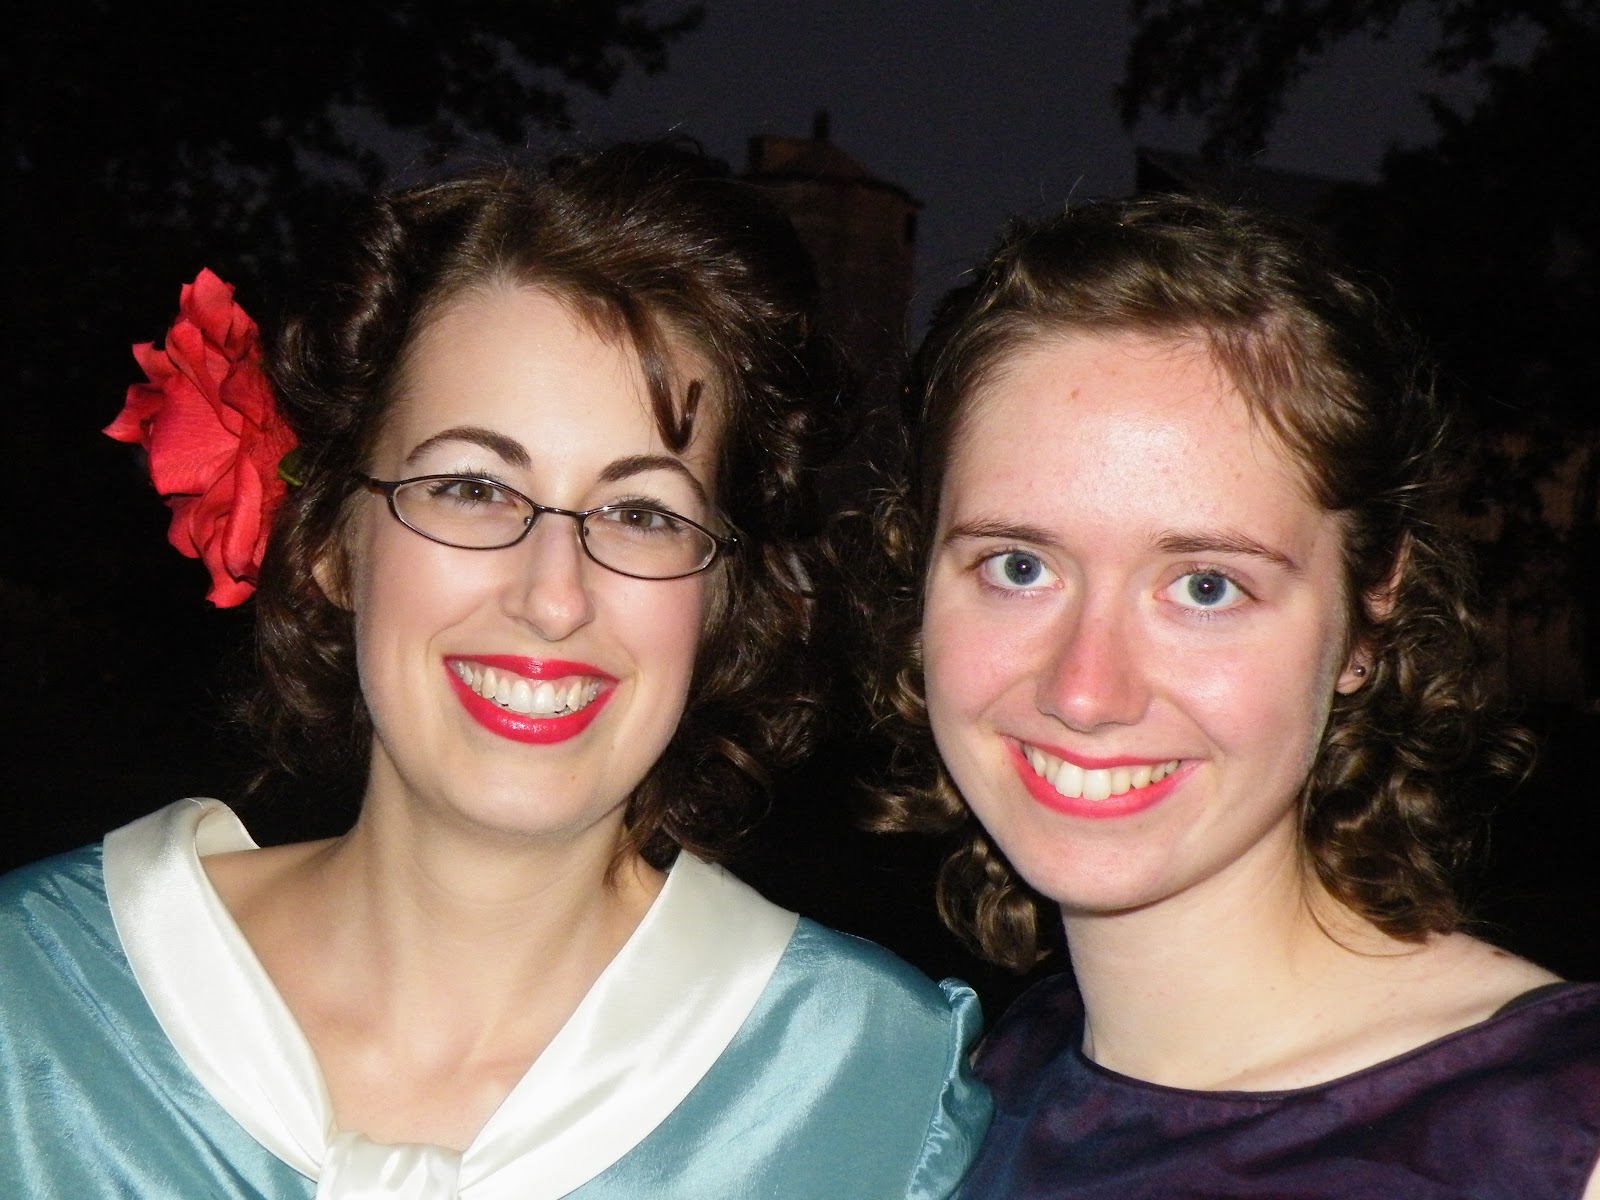
Vintage 1950s Orange and Pink Dress
Cute right?!
 I used a very simple bodice pattern - Simplicity 1873. Size 12 fit almost perfect I did have to take like 2 inches out on the side seams, but the rest fit.. lol I hate that I have to make such big sizes these days. Lawd.
The front "scarf" detail is just 4 ish inch wide strips cut on the bias. And the ends are angled. It doesn't cap my shoulder quite` like the original seems to be, but alas I am happy.
The skirt was 3 panels the full width of my fabric so probably around 125" circumference. Simply gathered at the waist. 
The back collar was a bit trickier just because I was careless and got one point way longer then the other. Making the piece itself wasn't to bad - just made angled lines and away we went.
I whipped the dress out in about a day. The crinoline however took a tad longer mainly due to cutting and procuring the materials.
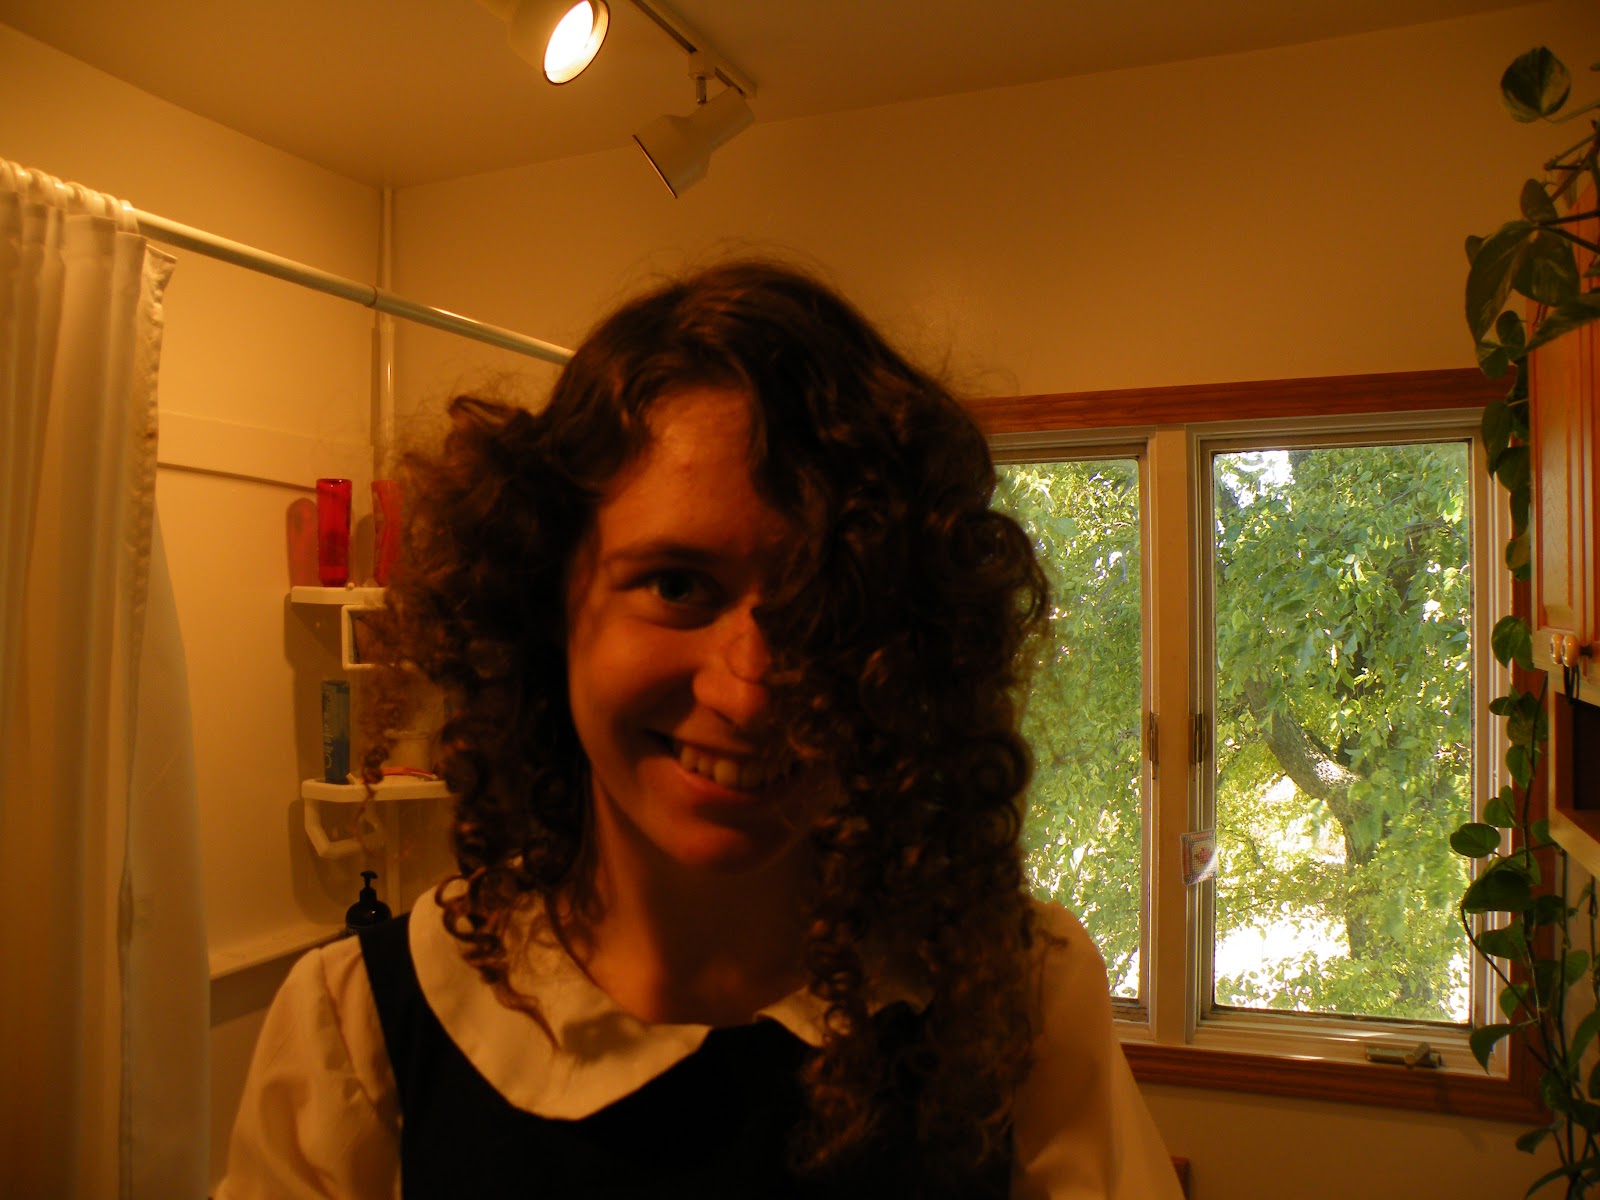
I set my hair in sponge rollers the night before. I was extremely pleased with the result. All I did was unroll them on the way to school and ruffle the crown of my head up a bit to be rid of any disturbing partings and threw on bit of firm hold hair spray. These pictures were taken after a full day of wear. So needless to say the curls stayed in fabulously.

The crinoline is 3 layers. 3 tiers each. The bottom tier is 8 yards in circumference, the 2nd 4 yards and the top 2 yards. I was unsure if it was full enough - mainly at the top. I wanted a nice feminine bell shape rather then a triangle. After seeing it all together I think its satisfactory. Its obviously very simple in design. This is the original I was aiming for. And this tutorial is very very similar... Certainly wasn't my favorite thing to work on. So monotonous and the amount of ribbon & thread I used was unbelievable!  
My beloved Aris Allen dance shoes! Love them bad boys - makes me so happy everytime I get the opportunity to break them out. 
Pearls of course. They seem so cliche, but totally completed the ensemble if you ask me. 
I took a very simplistic approach with my make up. Super light blush, 2 different shades of light brown eyeshadows, and Rimmel gel eyeliner which is the best thing ever for wings and such. I did fill my brows a bit believe it or not. I'm apparently not capable of having high arches tho. Which is rather dissapointing. lol I  somehow managed to loose my red lipstick during the night so I was forced to improvise alittle till I could get my hands on some. And then I walked out with 3 different ones cause I couldn't decide which shade I like best. lol Girls problems...I swear.
 Anyhow this is super helpful for someone who wishes to achieve something similar. 

And that's that. I now have a cute, fluffy little 50's dress to wear anytime I please!!!!! It was a great success at school as well. Yay for a victory!

Love,
Brooke

Wednesday, October 24, 2012

First Adventure With a Wedding Gown

I can't put into words how excited and honored I felt having been asked to make a wedding dress!! And by one of my dearest friends - no less. It was *such* a privilege! I'd been dreaming of making one for along time. So as you can imagine I was beyond thrilled when my darling friend, Lauren, asked me to make hers!  

She did a bunch of searching in the couple months following her engagement and decided on this dress as the basic design idea.

As you can see its a bit 1950's inspired.


Source: etsy.com via Lauren on Pinterest

Source: etsy.com via Lauren on Pinterest
 
Less than a month before the wedding we began the actual creating process. We spent a 5 hours fitting session together one afternoon. Where we draped the bodice, measured for the skirt length, went over different options, etc.
The very beginning...forming the shoulder and side seams.
For safety reason we shaped the neckline on the dressform... ;)

So much pinning and tweaking...
 
Do you ever wonder how we make heads or tails out of these things??? Yeah so do I... lol

The final mockup. We did 4 all together I do believe.

We decided on this gorgeous silk chiffon for the material. Fully lined bodice and skirt, as well as 3 layers of chiffon for the skirt. Frankly I was a bit nervous. :D Close-ish time limits and having never worked with chiffon before. But I couldn't have asked for a better or more patient bride!
Getting ready to cut. A wee bit nerve wracking...

20+ yards of silk chiffon! So lovely.

We hand gathered all the layers of the skirt. Each one was 170" around... thus equalling 1360" of gathering threads and approximately 19,040 stitches. The bodice went together very quickly. I hemmed the 'sleeves' by hand, as well as over casting all the seams and whipping the armscye "hems"...only catching the lining. Easier said then done. ;) Oh and I just have to say the zipper went in perfectly on the first try! I think that could be a new record for me. lol They are one of the reasons I prefer pre-1920's sewing. ;) We did a very narrow serged stitch to hem the skirt. It worked okay and looked fine, but I think next time I'll do it by hand. Once again my historical sewing side coming out. Me and sergers don't get along.
Me and Michelle hand gathering on the shirts.
I think this shows how fun silk chiffon is to work with... lol
After getting the dress itself finished we had another fitting. Everything was looking quite nice, but we decided to add a sash to set it off.
The first try on of the actual dress.

Experimenting with different sash ideas.
Overcasting the waist seam - after I was sure I wouldn't need to be tearing anything apart. :).
The sash
Tiny little sleeves. Super fluttery and sheer. :)
Finally finished!
Just really liked this shot. ;)

The back....
All in all I think it took about 2 weeks to make it.
A couple sneek peaks of the day...
petersonedit-0910
petersonedit-0634

Keep your eyes open for a post in the next few days about the actual wedding where you'll get to see more pictures of the dress, complete, on the gorgeous bride, with the sash properly placed, as well as a fluffy skirt. ;)

Love,
Brooke

Monday, October 17, 2011

My 16th Birthday Party

My 16th birthday party was a great success thanks to all my wonderful friends and family. :)

The night before all 3 of us girls did rag curlers.
The house was quite a sight with three mop heads walking around. :D


Just un-rolled...
A few sneak peeks of the dress I ended up making. :)

You'll be able to see more shots of it soon.

I'm hoping to use it for a Historical Costume Festival. :)


Megan's hair turned out fabulously. :) She wore a circle skirt...I refrained from calling it a poodle skirt as it doesn't actually have one on it. :P
Michelle's hair turned out extremely electric. :D I adored it, but she says she looks like the lady on The Princess Bride that says "I'm not a witch I'm your wife. " I couldn't believe how short it made her hair look. lol
I simply pulled it back into a barrette 'cause I thought it was to pretty to confine. :D Despite the sweet look on her face she was actually quite horrified with it... lol

The lighting is kinda weird in this shot, but she looked to cute to skip it. ;)
Onto more serious matters (the food. lol)...

Michelle made the cake. And put my favorite thing on it. :D Michelle says she is ashamed at how it turned out, but it was a big hit and everyone loved it so... :P
And now to introduce the guests. :) This is the ever fabulous Lauren.

My darling cousin Emily, looked dazzling!

My amazing cousin Sarah! Emily did an outstanding job on her hair. I was completely in love with it. :D

Our dear friend, Nikki, looking adorable!

My ever fantastic sister, Michelle. She totally rocked the show with her ensemble. :)

My signature photo. ;D

Megan, looking her age... *note to Megan loose the watch next time. lol*

This girl came all the from Missouri along with our fantastic aunt, Jane. Thanks so much for making the long trip up, it was such a wonderful surprise. :) Lois was a riot and added alot of excitement to the evening. :D
A sweet picture.


Visiting during the photoshoot.

Lauren and I pause for a quick shot.

There was of course more people here, but only us "young ones" went out for the shoot. :) So thus the lack of photos.

Nick did the honors of lighting the candles for this special birthday. ;)

Smiling for the photographer.

Happy with the stunning fabric. Thanks to Anna B.

An amazing gift from Aunt Jane.

I've already got huge plans for this pattern. Many thanks to Aunt Kristi!

Huge thanks to Grandma W. I now own a cool bright green jacket! :D
I got lots of amazing gifts from lots of awesome friends! Unfortunately we don't have pictures of them all...Anyway. Thanks SOOOOOOOOOOOOOO much everyone!!!!!!!!!!!!!. :) It means more then you know. :)

Some of the shoes that were seen during the evening.

We were all super interested in my new book, The Way They Were Dressed: in the 1860's, from Megan. :)
We had a blast of a slumber party, as always! :) Some of the girls stayed till about 1 p.m. we took a nice stroll and had a bunch of laughs. :) Nikki was able to stay till late Sunday night so we had a little weeny roast. So over all it was a total hit. ;)

What my curls looked like brushed out. :) (Its known as my "party hair".)

This is like my favorite picture of Michelle ever!!! :)

My poor 'little' baby wanted to join the party to... :) Gotta love my, Cody. :D

And a few creative shots of our fire. :D

Michelle got bored so we had a photoshoot just for the burning stick. lol
It couldn't have happened without y'all making it such a great time! Thanks again!

Love,
Brooke